Let’s Talk About Why Brooder Lamps Always Seem to Die
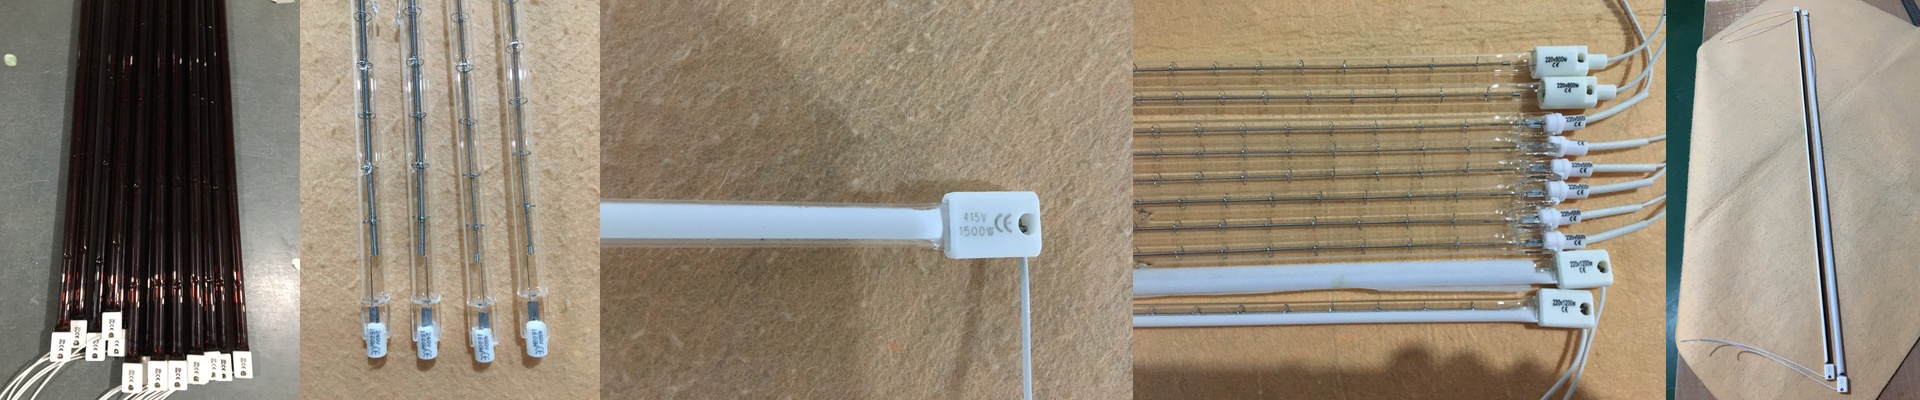
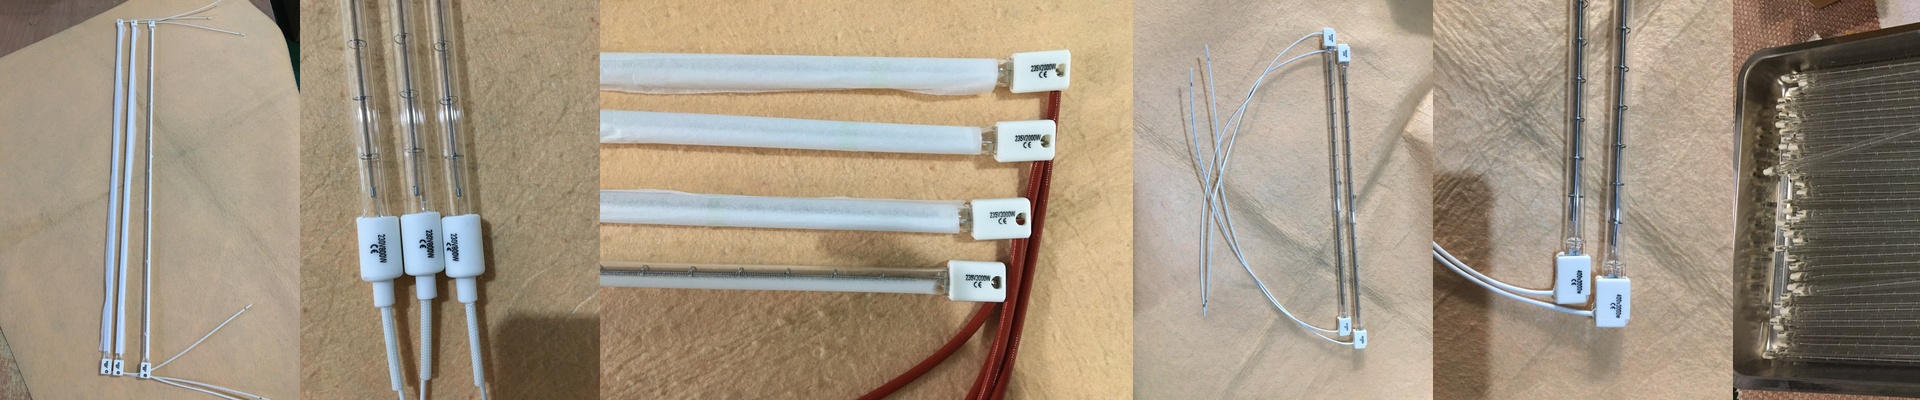
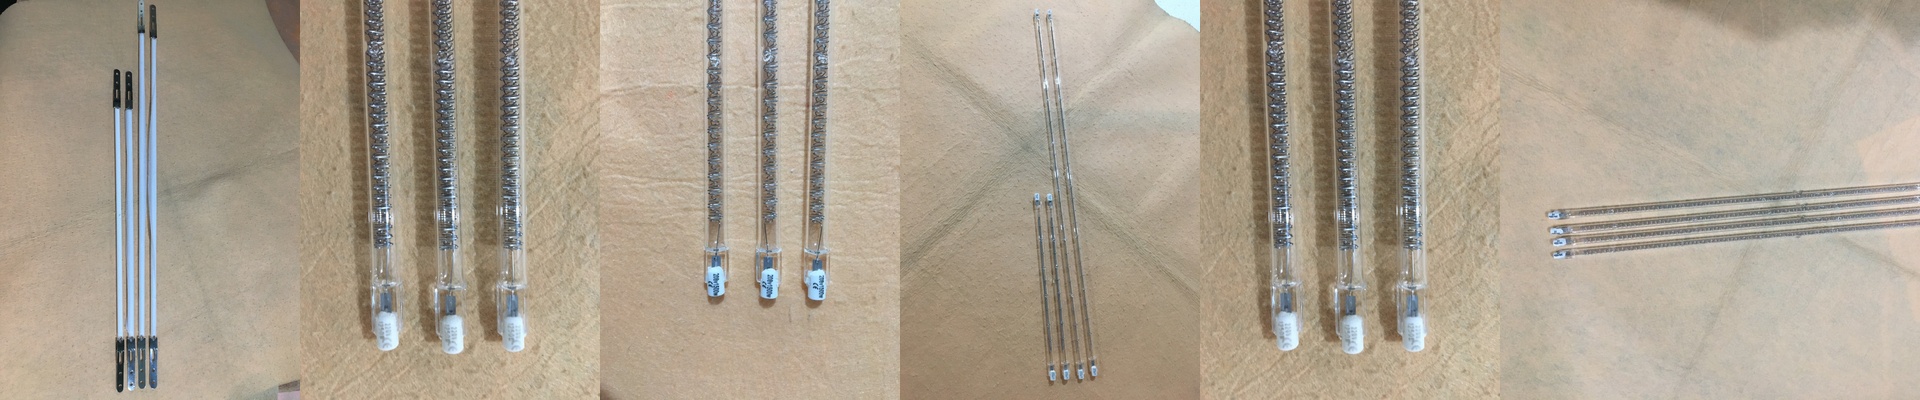
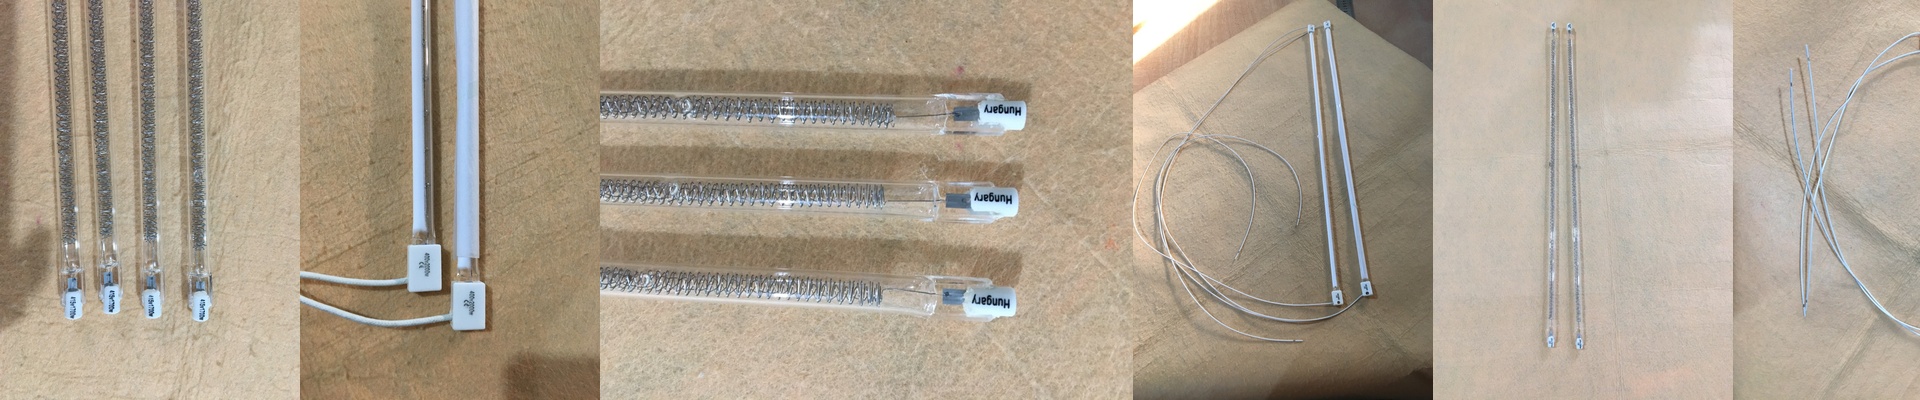
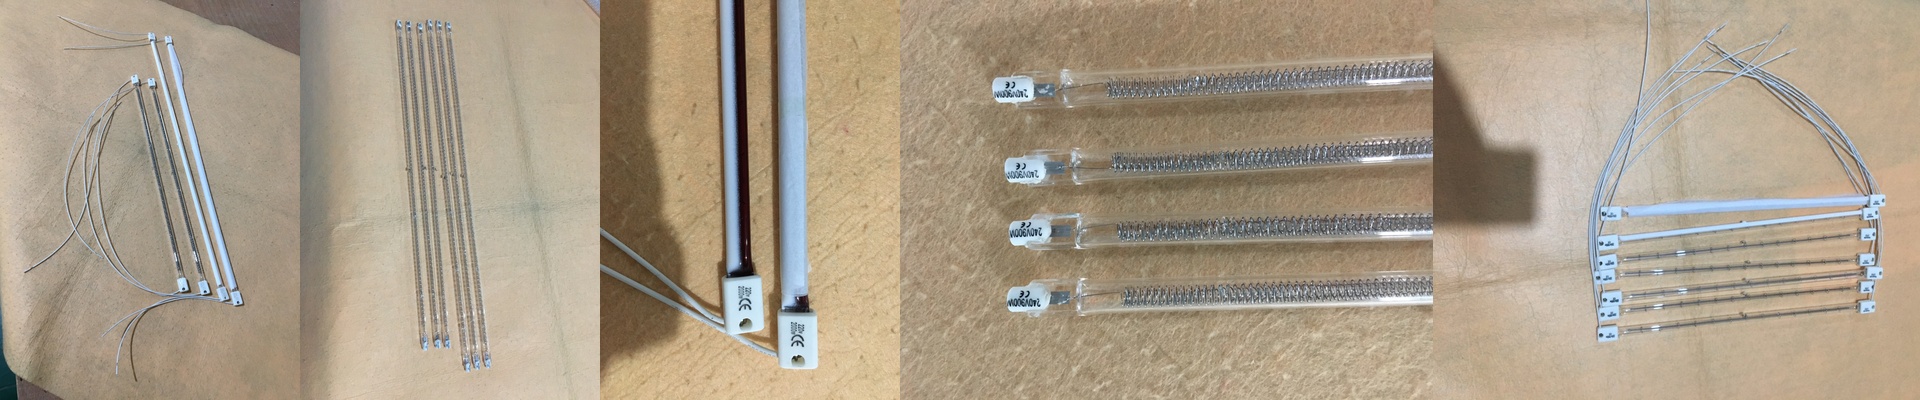
If you’ve ever run a commercial chick brooder, you know it’s basically a war zone for electronics. Between the ammonia fumes from the litter and the constant scrubbing and moisture, standard heating lamps just can’t keep up. They burn out. They short. They fail right when you need them most. We got tired of seeing it happen, so we tore our infrared systems apart and rebuilt them. Specifically, we looked at the two things that usually break first: the wiring and the seals. Dealing with the corrosion Here’s the thing about ammonia—it absolutely eats through standard PVC and copper. It’s relentless. To stop that, we swapped in lead wires with a specialized jacket that doesn’t crumble when the air gets nasty. We also started using reinforced crimping and heat-shrink tubing at every connection. Why? Because of “wicking.” That’s when moisture literally crawls up the wire and settles right in the lamp socket. Once that happens, the copper oxidizes, the resistance spikes, and eventually, the connection just melts. Now, we’ve shut that door. The seal that actually holds We also overhauled how we seal the units. We’re using high-temperature silicone gaskets now. These stay stretchy and tight even when they’re being blasted by infrared heat all day. If a seal is loose, dust and moisture get inside to the electrical terminals. It’s a recipe for disaster. We tightened the tolerances on the housing so everything fits snug, keeping the guts of the lamp bone-dry. The trade-off Now, there is one thing to keep in mind. Because the insulation is denser and the seal is tighter, these units run a bit hotter on the inside. It’s a fair trade for the durability, but you’ll want to make sure your mounting brackets have plenty of airflow. You don’t want the heat soaking back into your brooder frame. The goal was simple: make the hardware last as long as the heating element itself. It’s a relief to finally stop replacing an entire fixture just because one wire decided to corrode.